No items.
Continue shopping

 Free Express Shipping
 49% Off
 12-Months Warranty


Creating your custom neon sign offers a distinctive touch to any space and saves on costs compared to buying one. Besides, it lets you fashion a truly unique piece reflecting your style. In this step-by-step manual, we'll guide you on how to make custom neon signs.

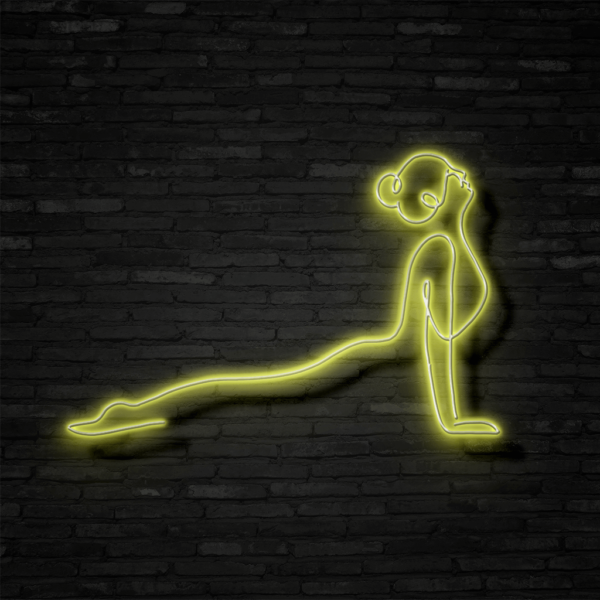
Custom LED neon light signs involve bending gas-filled glass tubes to emit light when electrified. While typically using neon gas, they can also employ argon or helium to yield various colors. Initially an advertising medium, these signs have found their way into homes, bars, restaurants, and other spaces as decorative elements.
The notion of creating a custom neon sign might seem daunting, but armed with the right materials and techniques, it becomes an enjoyable endeavor. Here's a step-by-step guide on fashioning your personalized neon sign.
Start by gathering essential materials:
Optional add-ons:

The initial step involves designing your custom neon sign. Whether creating your unique design or utilizing a pre-existing pattern, simplicity is key due to the glass tubing's need for bending to form shapes or letters. Employ a computer program for a digital design or print it as a guide.
Transfer your design onto the glass tubing using a marker or pencil, marking the start and end points of each bend for precision. Masking tape can also assist in outlining the design.
>>> See more: Crafting the Perfect Custom Neon Name SignNow, let’s move on to creating your custom neon sign with the following steps:
Carefully use a glass cutter to cut the glass tubing according to your design, ensuring you wear protective eyewear and gloves.
Attach electrodes to the tubing ends to connect them to the transformer/power supply. Secure them using rubber caps.
Referencing your design, gently bend the glass tubing to shape the desired letters or form. Neon sign-bending pliers can facilitate this process, requiring patience to avoid breakage.
Once shaped, fill the tubing with gas. For neon gas, utilize a neon sign pump; for argon, a vacuum pump to eliminate air before gas filling. Adhere to the kit instructions for proper filling.
Strip electrode ends using wire strippers, soldering them to the transformer/power supply wires, ensuring a secure connection with flux.
Seal the tubing ends with heat-resistant silicone or glue to prevent gas leaks and maintain brightness.
Mount your neon sign using hooks or hangers, securing it in place with clamps following the instructions accompanying your mounting materials.
Congratulations! You’ve crafted your personalized neon sign!
So, we have just given you detailed instructions on how to make custome neon sign. Despite initial trepidation, crafting your custom neon sign is an enjoyable and cost-effective process. It not only saves money but also lets you create a bespoke piece that mirrors your personality and style. Gather your materials, unleash your creativity in design, and follow these steps to fashion your personalized neon sign. Enjoy the crafting experience!
For more detailed information and additional support, please contact us through: